A DIY TVOC & eCO2 sensor for integration into Home Assistant using ESP-Home.

 A wall mounted TVOC sensor


Project Outline

A DIY Total Volatile Organic Compounds (TVOC) and equivalent Carbon Dioxide (eCO2) sensor to measure the air quality within my room. This is particularly important 
due to the recent addition of a 3D printer within the space. I'd also like this sensor to be able to connect to my Home Assistant instance to be able to consolidate and
manage it alongside existing smart home sensors.


Components

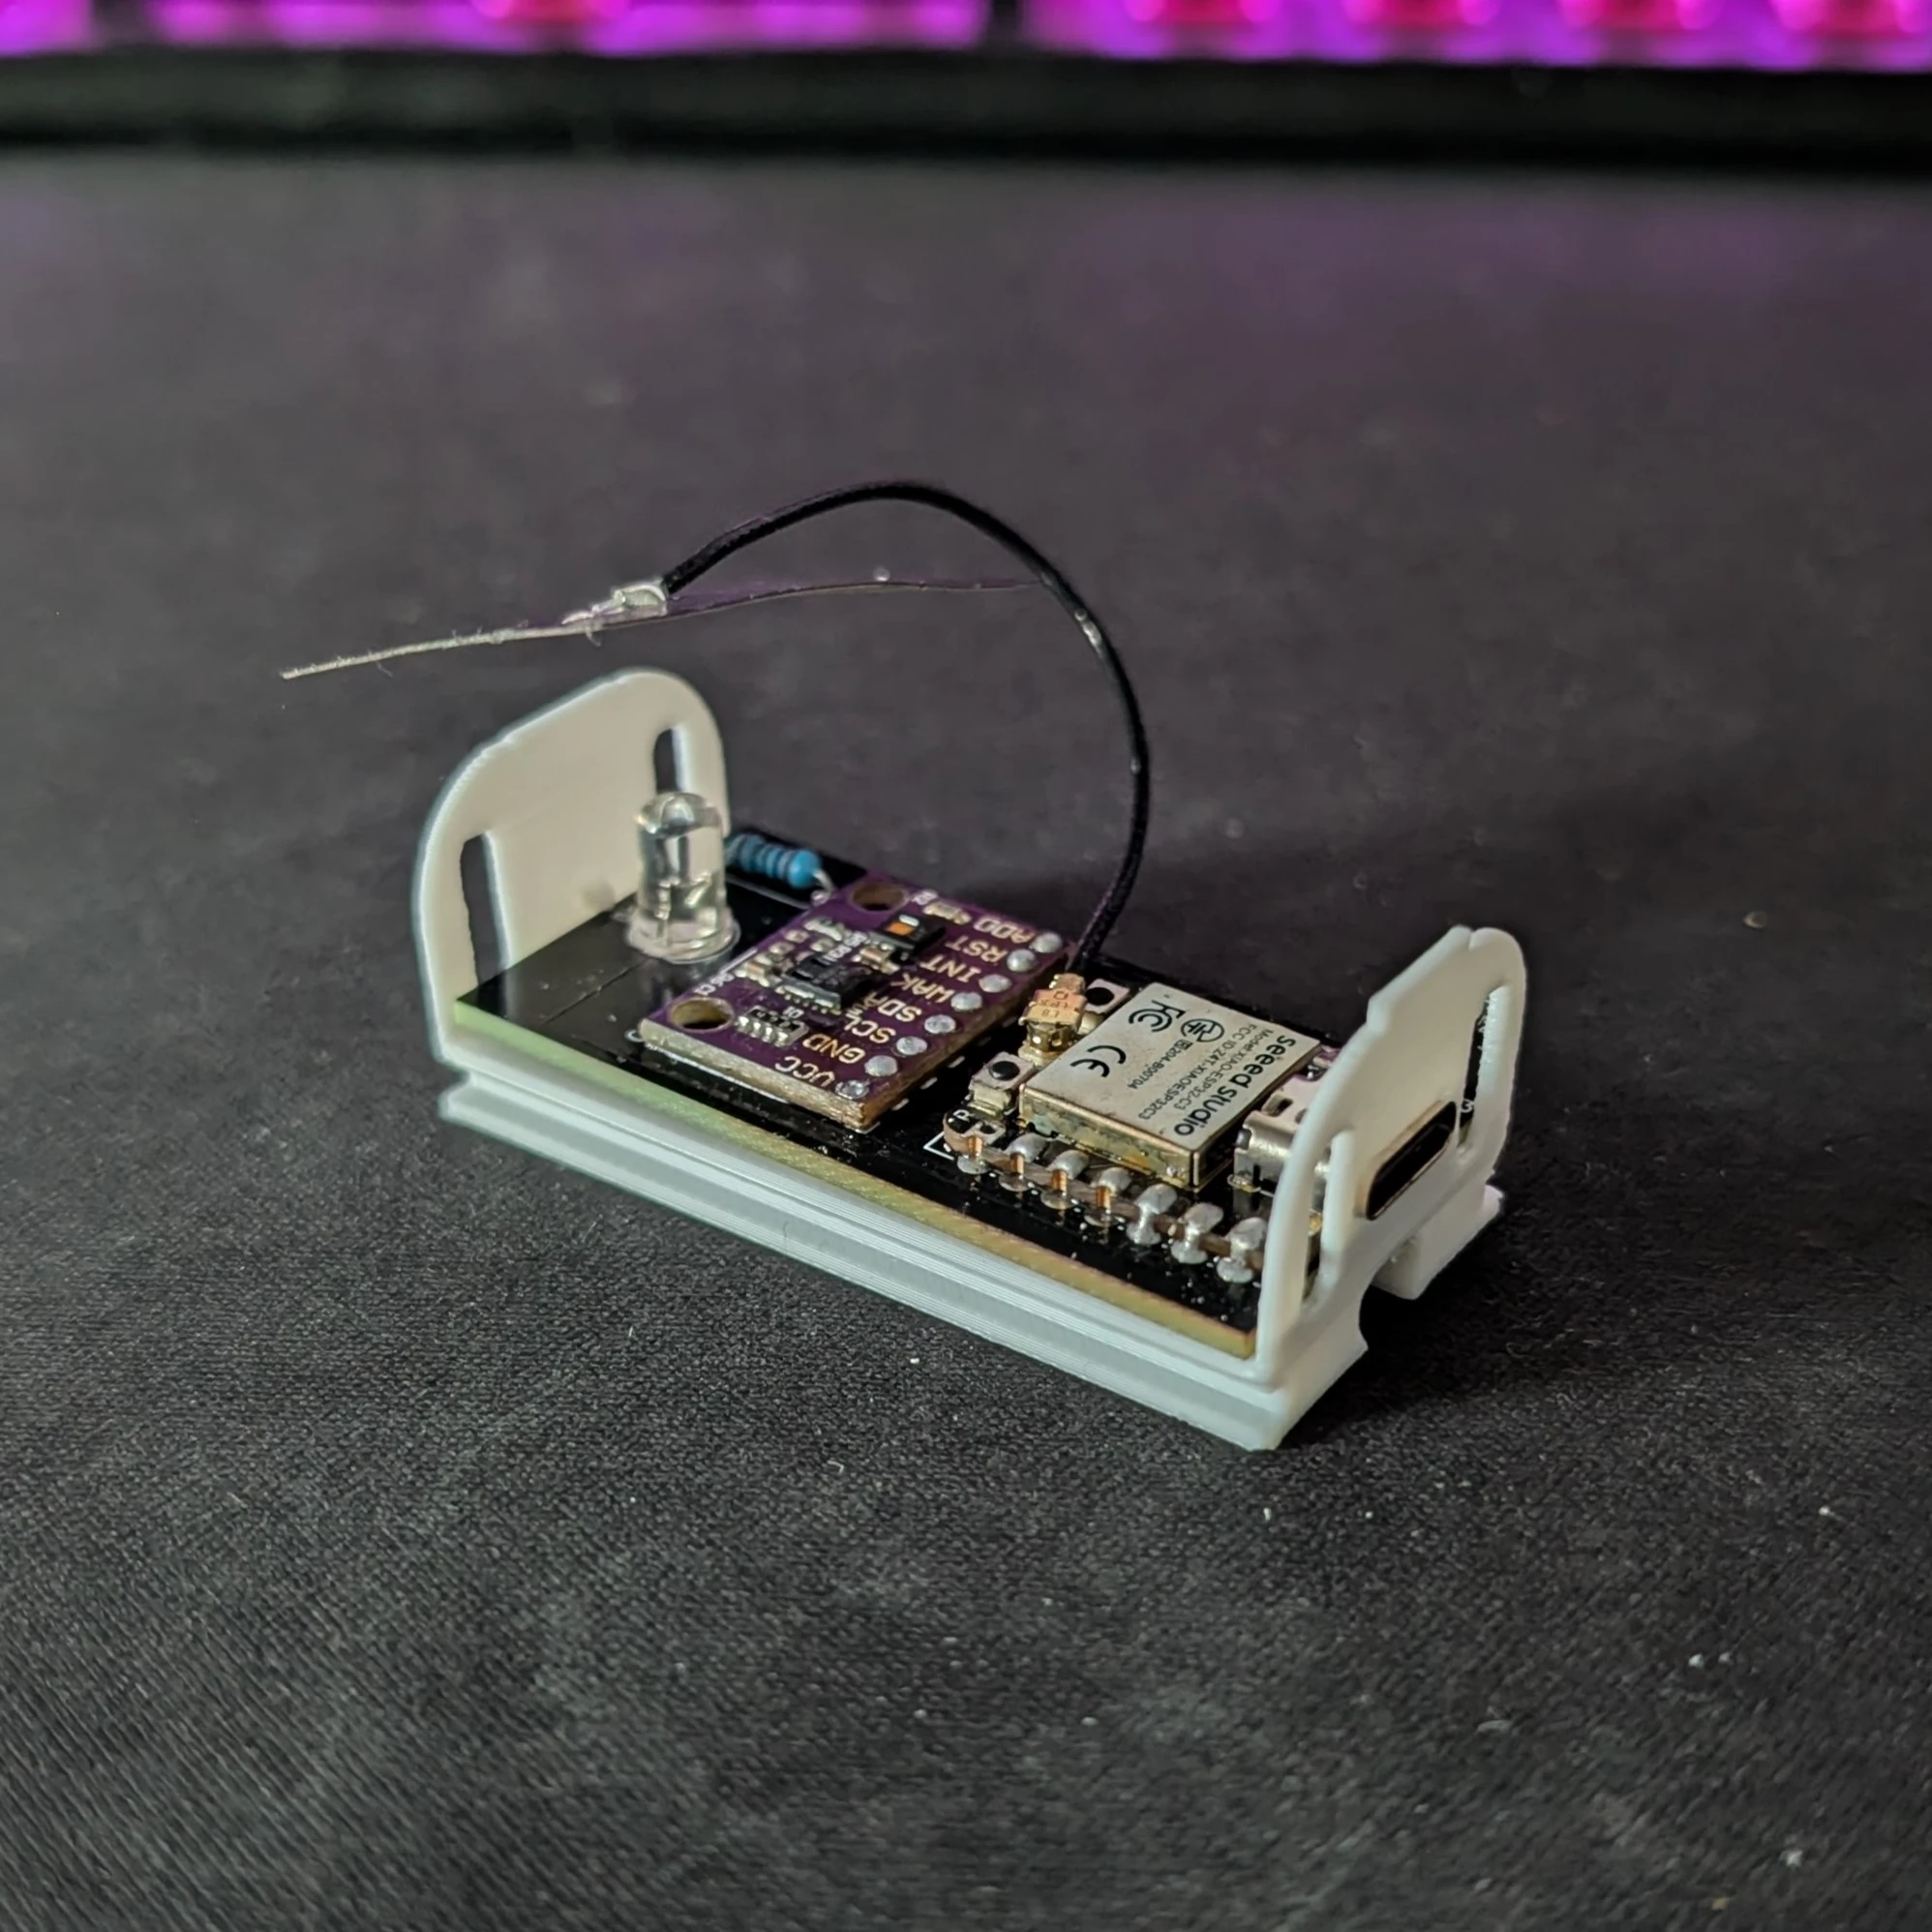
  • - Seeed XIAO ESP32C3 board 

  • - CCS811 HDC1080 eCO2 and TVOC sensor

  • - Custom PCB

  • - Blue LED

  • - 100 ohm resistor

- 3D Printed enclosure 


Prototype

Built using a breadboard. The ESP board communicates with Home Assistant via ESP-Home and controls power input and distribution. The TVOC/eCO2 sensor is wired up to the ESP board and reports the current TVOC and eCO2 values every 15 seconds. The Blue LED acts as a status light and flashes when the device is disconnected from the Home Assistant instance but can also be toggled manually from the Home Assistant dashboard.


A breadboard prototype 


Initial Enclosure Design

Initial enclosure designs focused on keeping the components separate without the use of a custom PCB due to my lack of experience with PCB design. All enclosure designs would be done in Autodesk Fusion 360 as it is one of the most widely used hard surface modelling packages that offers a free version for hobbyists. The first few versions featured a slot for the ESP board to be pressed into and held into place at the corners, a shelf for the CCS811 HDC1080 sensor board itself (to allow routing of cables underneath), and a friction fit mount for the LED. These components would then be covered with a slide-on lid and mounted to the wall using a dovetail wall plate.


Early enclosure prototype 


PCB Design Eventually I decided that it made a lot more sense to take the time to learn some PCB design in order to keep the sensor compact and improve the overall look. After some research I decided to use KiCad due to the large amount of online tutorials and it being free to use. The PCB design took roughly 2 days to finalise and was sent to PCBWay for manufacture.


sensor schematic

circuit board design

the manufactured PCB


PCB Enclosure Design

After changing to using a PCB to hold all of the components the sensor enclosure had to be altered as well. Luckily, this was not a long process as I only had to worry about holding the PCB in place rather than the individual components and so most of the difference between versions were just slight tolerance changes.


versions 7, 8, and 9 of the enclosure


The Final Design


TVOC sesnor final

TVOC sesnor final with lid

TVOC sesnor final on wall 


Conclusion

During this project I have learned a lot about PCB design and smart home integration using ESP-Home that I can carry over to future projects. However, I do have some regrets with this project:


- Low accuracy components - While the CCS811 HDC1080 sensor does provide some rough idea of air quality it doesn't come pre-calibrated and doesn't provide an accurate CO2 reading. I should have done more research into the types on sensors available and maybe spent a bit more for a higher quality sensor.


- Late switch to PCB - Deciding to use a custom PCB design earlier in the project could have cut the complexity of the enclosure and project length in half.


-No battery power - The Seeed XIAO ESP32C3 has a built in charging circuit that was not taken advantage of during this project.


See the project on GitHub: https://github.com/Pricey1600/TVOC-eCO2-Sensor/tree/main